Actualités

Blog
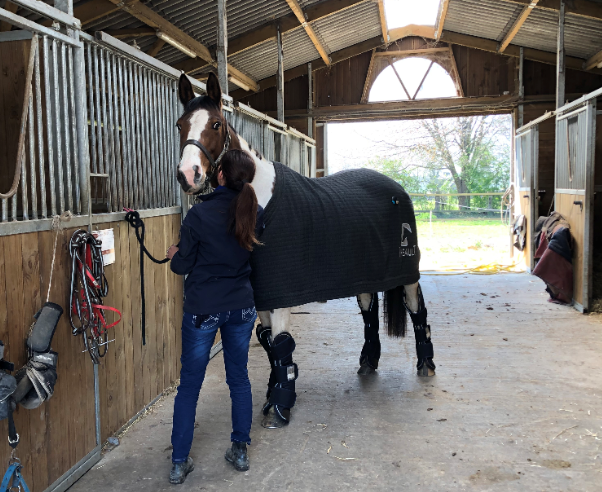
Protecting my horse during transport.
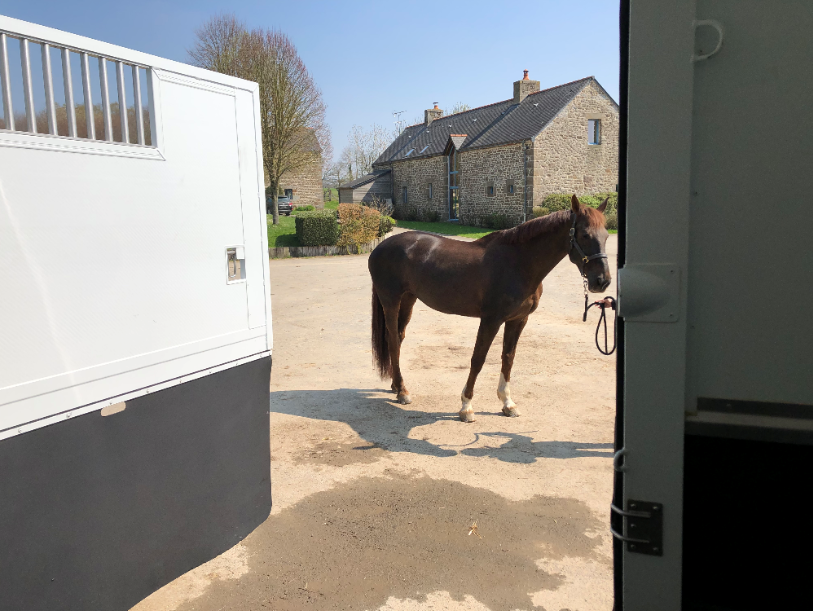
When transporting a horse, even for a short period of time, it is important to protect your horse to avoid injury.
In this article, we will give you the 5 steps to follow to transport your horse or pony safely.
Why protect your horse during transport?
Transport is often a source of small injuries if the horse is not (or poorly) protected. It is therefore strongly recommended to use suitable equipment, in order to avoid the risk of injury.
Even in a straight line or on the motorway, your horse needs to move to find its balance! Just like us humans, when we are on public transport without seats: we try to hold on to something, or we swing on our two feet to avoid falling.
Your horse cannot hold on with his hands : He must play with his feet to keep his balance and a stable position. There is then a risk of rubbing against the wall and the point of the hock can easily be scratched.
There are also horses that are naturally restless and travel badly. They will trample, scratch or even kick. They can then injure the glomes or the coronet, sensitive areas that should not be neglected.
As you will have understood, a transport needs to be prepared! If you are carrying out your first transport, click here to read our previous article : [First Transport, how to get ready?]
5 steps to properly equip your horse for the transport.
Step 1 : the neck
As a preventive measure, a protection can be used to protect the back of the horse's neck. It is especially useful when horses are backing up quickly from a trailer. In a lorry, it can be useful for very large horses.
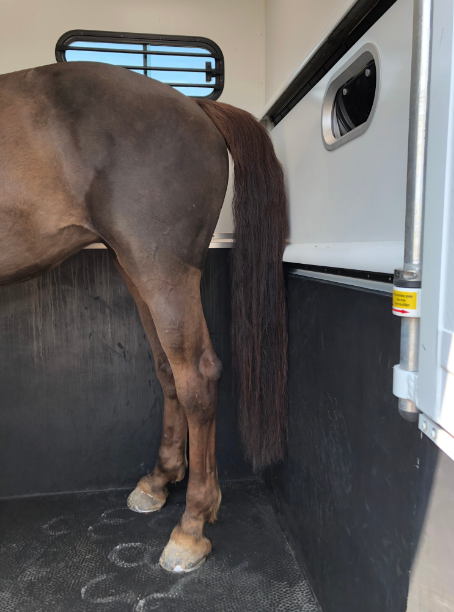
Step 2 : The tail
Protecting your horse's tail may seem trivial, but it is really not ! It is essential if you want to keep a beautiful tail when you arrive at the show grounds.
Horses sometimes have the annoying tendency to scratch against the wall, which results in a dishevelled pompom when they leave the truck! To avoid this, you can band the tail, being careful to tighten your bandage so that it does not fall during transport. There are also tail protectors in various forms (neoprene, latex, waterproof material, etc.), very practical and quick to put on.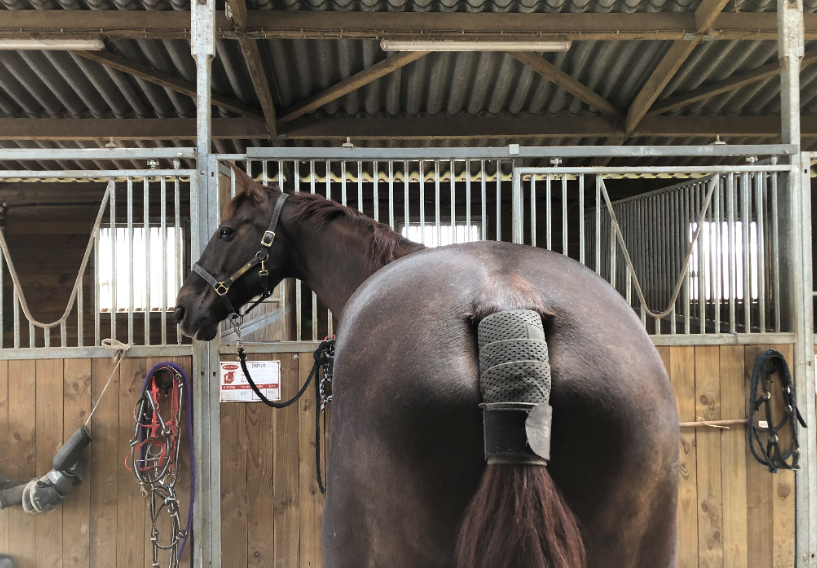
Groom’s tip
You can braid the whole length of the tail, ending with a rubber band, which will prevent your horse from getting his tail stuck in the horsebox or trailer during transport. You will also have less dung in the tail when you arrive!
________________________________________
Step 3: Knee and hock protector
These protections are highly recommended for horses that kick during transport. They provide effective protection for the knees and hocks and are complementary to some transport protections that do not cover this area.
Step 4: the legs
The legs are the most important part to protect. As the saying goes: no foot, no horse! So do not skimp on the quality of the equipment.
There are 2 types of protection:
- The so-called "low" protections
- The so-called "high" protections
In the low protections, we find the resting bands that we will put on with cotton and the resting boots with integrated under-bandage. These two types of protections have disadvantages because you will not fully protect your horse's legs (they reach below the knee). You should therefore use knee and hock pads to optimise the protection of your horse's legs.
However, they do have an advantage in that they optimise the recovery of the legs after an effort. You can also put a layer of clay or seaweed underneath, to drain the toxins accumulated during exercise. It is a 2-in-1 solution!
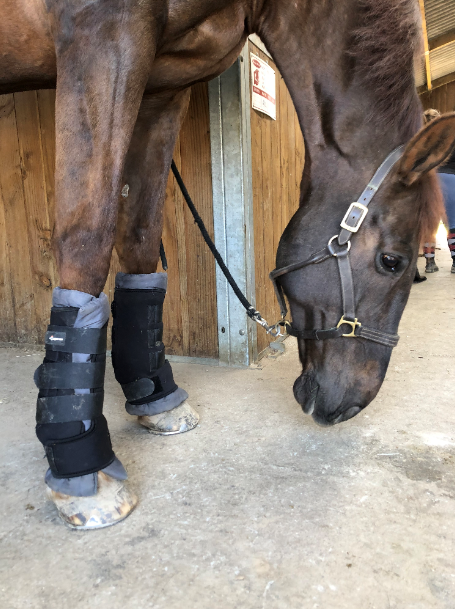
The high protections go up to the knee for the front legs and up to the hock for the hind legs! They are therefore perfectly adapted for transport: they optimally protect the fetlocks, tendons, hocks, and knees.
They are also often thicker at the bottom to protect the glomes and the coronet. They are complete protections and very practical to put on: you just need to tighten your scratch and adjust the protection on your horse’s legs (it should not be floating).
Step 5 : The bell-boots or glome protections
If you want to protect the glomes and prevent your horse from losing a shoe during transport, do not forget to use bells or glome protectors. The difference? The glome protectors are more technical, padded or with a shell at the back, they protect the horse's glomes effectively.
If you use high leg-protections with a shell at the bottom, it is not necessary to use bells. However, they are essential with low protections!
This article is proposed in collaboration with "PoNyCoRn le blog", find other articles on the website and see you soon for a new article!
![]()


